 View larger
Lunar Surface
New activity
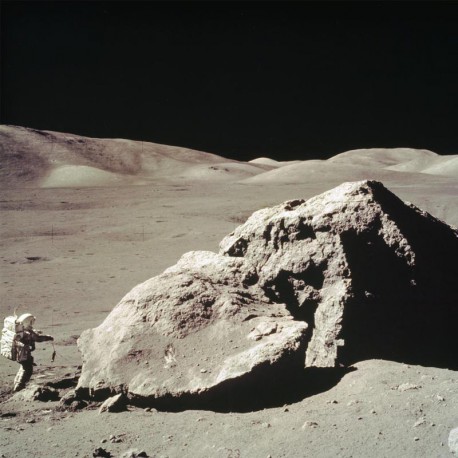
In this activity, learners will make a model of the Moon's surface and to consider the geologic processes and rocks of each area.
Open Activity
Teacher's Guide
Provides classroom connections, key concepts, connections to science standards, and additional resources.
-
Rating
-
Participants Enjoyed the ActivityParticipants Learned from This ActivityActivity Instructions Were Clear and Easy to FollowWould Recommend
Related Programming Resources
Reviews
Simple and straightforward.
This activity is drawn from a longer, comprehensive document made available by NASA.gov. (The full document is available online under the name “Exploring the Moon – A Teacher’s Guide with Activities”.) As such, it relies on some other materials from the longer document (such as playdough recipes) which are not included here, and which you will have to dig around online to find (or to find substitutes for). This makes the activity slightly more difficult to set up for, unless you do as we did and go for store-bought playdough. When there’s a time crunch to acquire supplies, it’s alright to go with those delightful 50¢ neon containers.
Vital to this modeling activity, as with most, is the provision of examples. It’s all well and good to ask kids to make dents and craters in playdough, but they won’t understand the point unless you walk them through what the lunar surface actually looks like, and why it matters to try and understand the ways in which impacts affect lunar geology. Thankfully, the group of kids with whom we carried out this exercise had already done some lunar impact-related activities, including the “Crater Creations” and “Future Moon: The Footsteps of Explorers” activities also available through the STAR_net STEM Activities Clearinghouse. For our specific group of participants, the basics of lunar impacts was already rapidly becoming entrenched knowledge, and only summary descriptions and some examples were required to make a success out of this activity.
Another fun idea to use with this activity is to purchase those “Map Flag Push Pins” which are often used on maps and bulletin boards. They have just enough room to write some very small labels, and make for a great way of labeling various features if you do not have any toothpick flags available.
We found that the kiddos loved collaborating on what to write on the handout portion of this activity, but were less interested in writing the answers themselves. Reluctant writers or very young participants may be discouraged from taking part if the written portion is required, and we suggested pairing kiddos up so that there was always a willing scribe. Our largest group taking part in this activity at any point in time during Makerspace was around six kids of varied ages, so we tended to have three to four kids per group. All in all, this was a lot of fun, and supremely easy to set up. The only difficult component for execution would be mixing and cooking the playdough if you intend to steer clear of off the shelf items.


